I tried using the newly integrated feature that allows linking Sakura Cloud’s Web Accelerator with Object Storage.
Web Accelerator Now Supports Object Storage Integration
This blog is a static site generated by Hugo, so I wanted to distribute this site using Object Storage and Web Accelerator.
Currently, it is being distributed via Web Accelerator + Sakura Rental Server.
Creating a Bucket in Object Storage
For pricing information, please check here
Manual can be found here
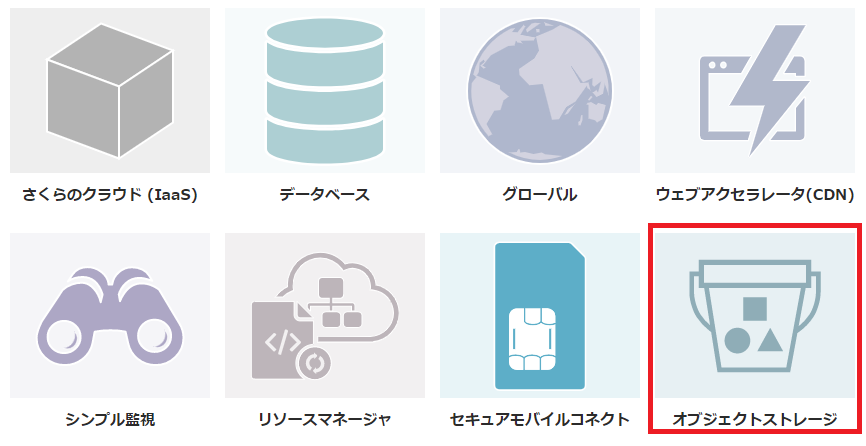
- Select Object Storage from the Cloud Home
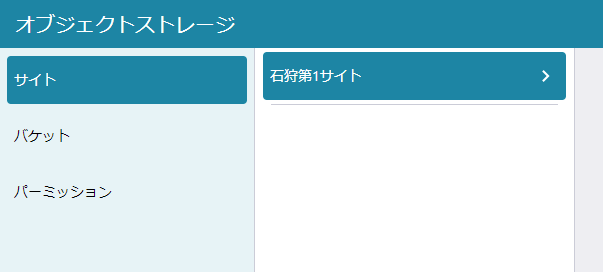
- Select [Site] => [Ishikari 1st Site]
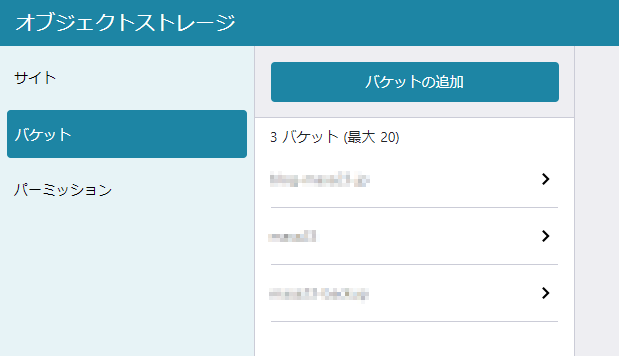
- Select [Bucket] and then [Add Bucket]
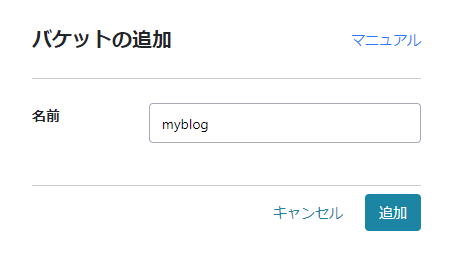
- Enter the bucket name and click [Add]
- Select [Permissions] and then [Add Permissions]
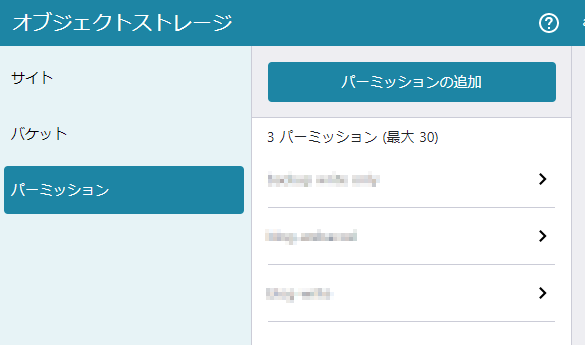
Create an access key to access Object Storage - Name it
Here, we create a permission that allows READ (read-only) access to the myblog bucket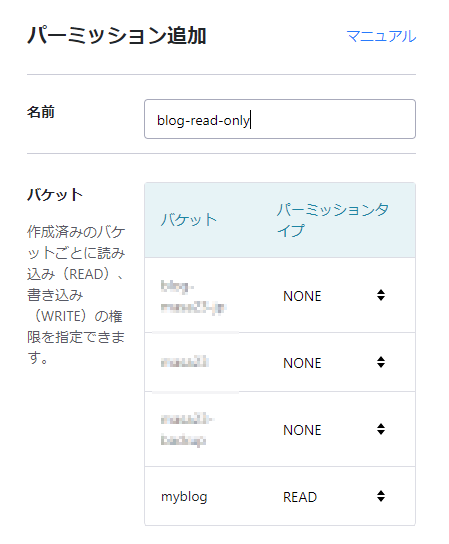
- Note down the created access key
This read-only access key will be needed later for the Web Accelerator settings, so be sure to note down the Access Key ID and Secret Access Key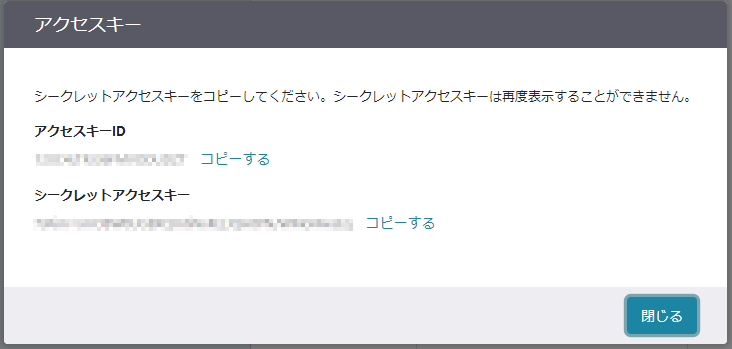
- Add another permission
This permission will be used to upload site content to Object Storage, so create it with READ/WRITE (read and write) permissions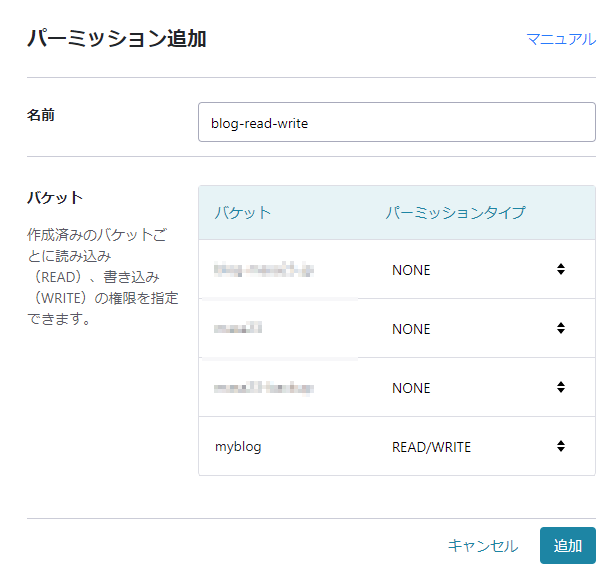
- Note down the Access Key ID and Secret Access Key, which will be used for uploading

Uploading Content
Currently, content is generated with Hugo, so upload the contents of the public directory created by Hugo to Object Storage.
Of course, if you have created your own HTML, you can upload that instead.
*Note: Object Storage is a storage service, not a rental server, so PHP or CGI programs will not run.
We will use awscli, as mentioned in the Sakura Cloud Object Storage manual, to upload the content.
Installing and Setting Up Tools
First, install awscli. (Here we are using Ubuntu 20.04)
- Install awscli
$ sudo apt install awscli
- Configure awscli
$ aws configure
AWS Access Key ID [None]: <Access Key ID>
AWS Secret Access Key [None]: <Secret Access Key>
Default region name [jp-north-1]: [ENTER]
Default output format [json]: [ENTER]
Here, use the READ/WRITE (read and write) Access Key ID and Secret Access Key created earlier.
- Checking the bucket
aws --endpoint-url=https://s3.isk01.sakurastorage.jp s3 ls s3://myblog/
You can view s3://
Initially, it should be empty.
Uploading Content
awscli has a sync command, so use sync to synchronize the content of the public directory generated by Hugo.
- Uploading (syncing)
$ aws --endpoint-url=https://s3.isk01.sakurastorage.jp s3 sync public s3://myblog/
- Checking
$ aws --endpoint-url=https://s3.isk01.sakurastorage.jp s3 ls s3://myblog/
                           PRE assets/
                           PRE css/
                           PRE page/
                           PRE posts/
                           PRE tags/
2021-04-14 18:46:18        219 .htaccess
2021-04-14 18:46:19       1704 404.html
2021-04-14 18:46:19       6242 index.html
2021-04-14 18:46:19       9773 index.xml
2021-04-14 18:46:21       3721 sitemap.xml
Successfully uploaded 🎉
Setting Up Web Accelerator
This time, since blog.masa23.jp is already registered with Web Accelerator and the origin server is set to Sakura Rental Server, we will change this to Object Storage.
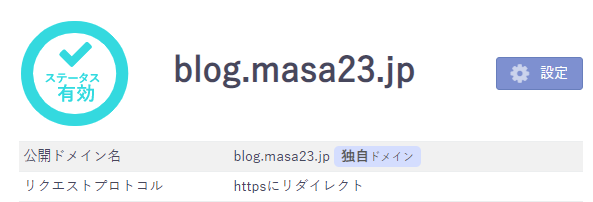
Open the target site and click [Settings]
Change the origin type from [Web Server] to [Object Storage]

Enter the [Bucket Name], [Access Key ID], and [Secret Access Key]
Here, set the READ (read-only) Access Key ID and Secret Access Key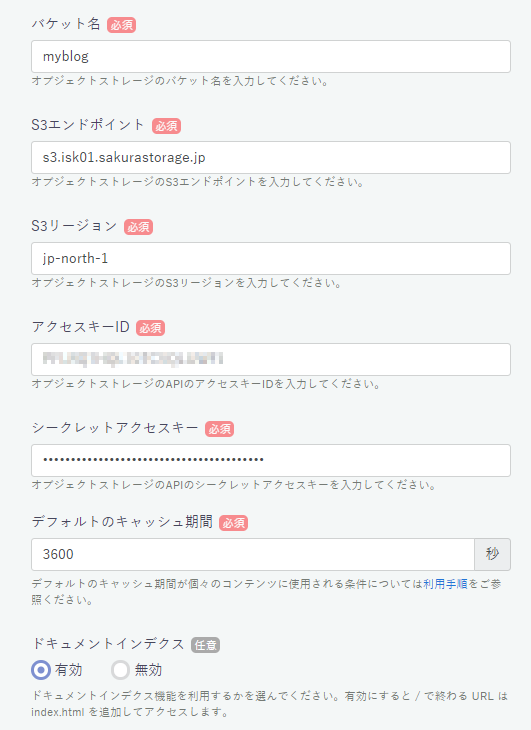
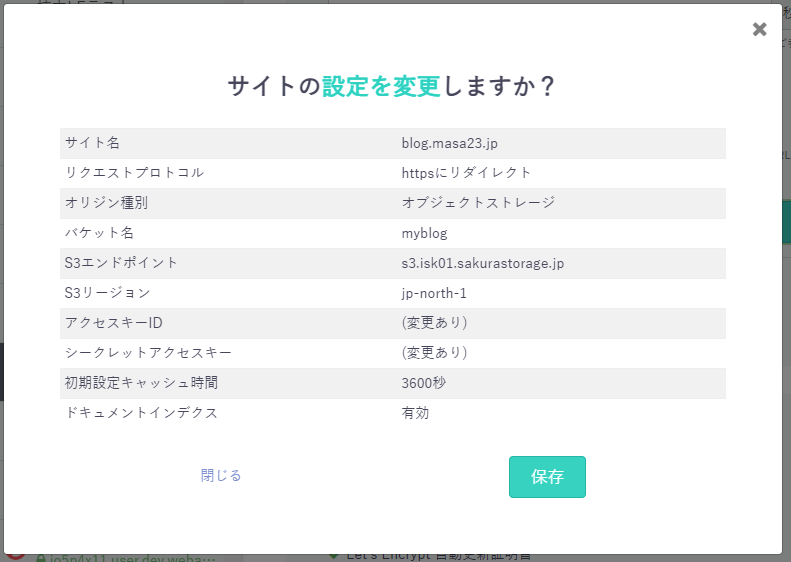
Confirm that the origin type is set to Object Storage and save
Now, the content uploaded to Object Storage should be distributed via the Web Accelerator.