This content was moved from Qiita.
While it’s common to deliver images and other content with S3 + CloudFront, if the delivery target is limited to Japan, it might be cheaper to use S3 + Sakura Cloud’s CDN service, Web Accelerator. So, let’s set it up.
I haven’t verified if the actual billing will be cheaper.
The delivery fee for CloudFront is 0.140 USD (15.8 yen as of December 28, 2017) per GiB in Japan, so Web Accelerator, which costs 5 yen (including tax) per GiB, seems cheaper.
Moreover, Web Accelerator doesn’t charge based on the number of requests, making it potentially easier to understand than CloudFront.
However, since requests and transfer charges to S3 will occur with S3->Web Accelerator, be aware that S3 will incur charges for cache misses.
I haven’t actually used it, so I don’t have a comparison, but if you have more knowledge, please let me know.
S3 Configuration
Creating a Bucket in AWS S3
Creating a Bucket
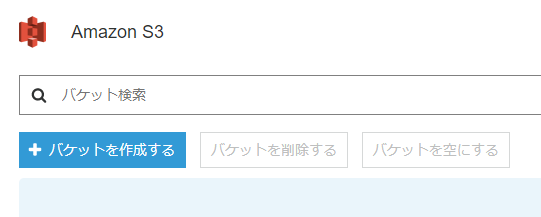
Click “Create bucket” on the S3 settings screen in the AWS console.
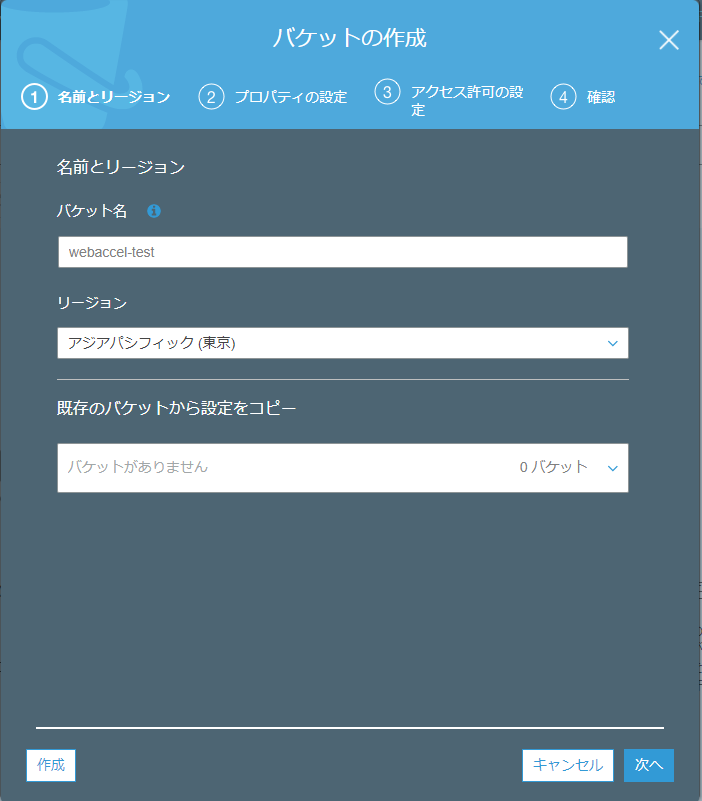
Bucket Name
Set an appropriate bucket name (for now, choose Tokyo as the region).
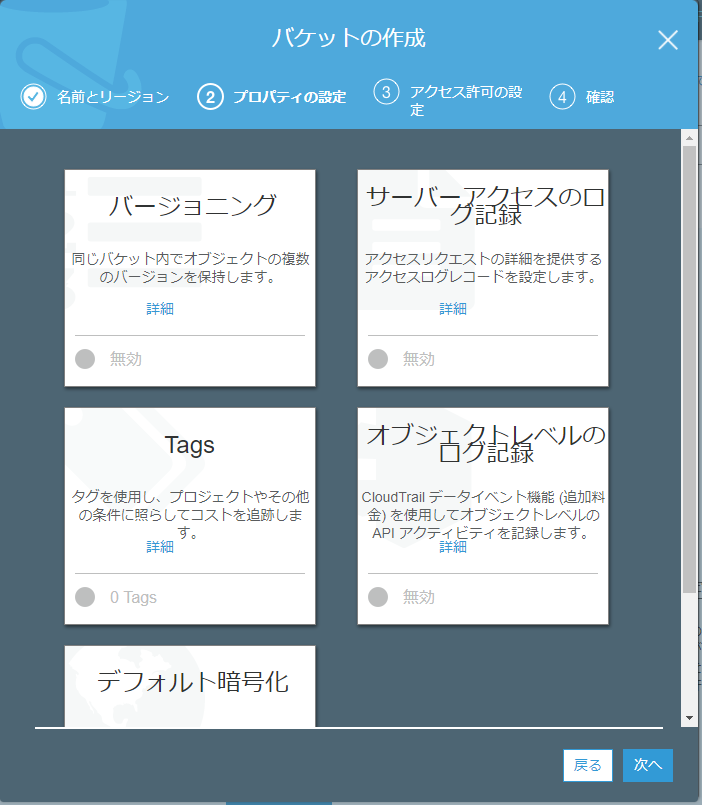
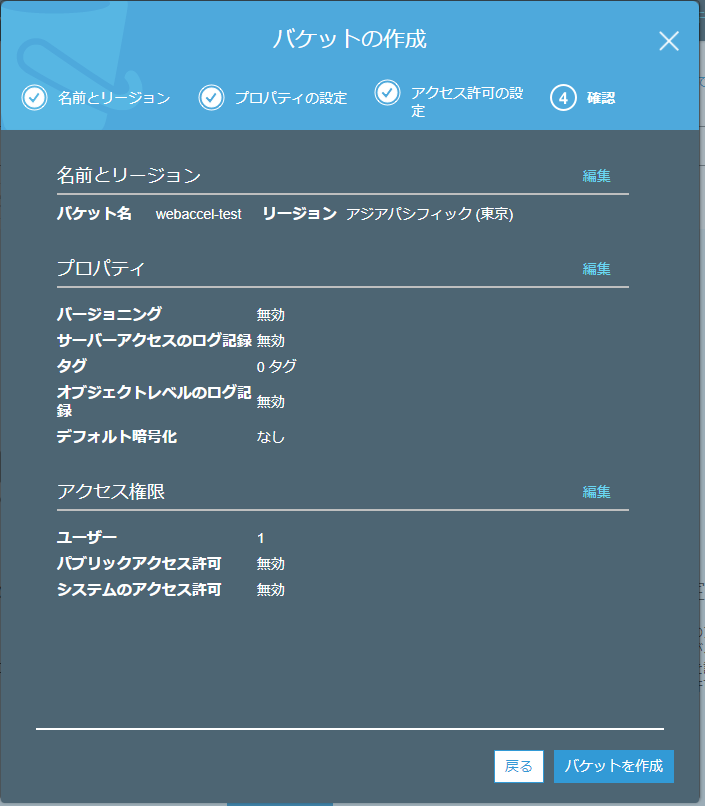
You probably don’t need to change any settings here, so just skip through.
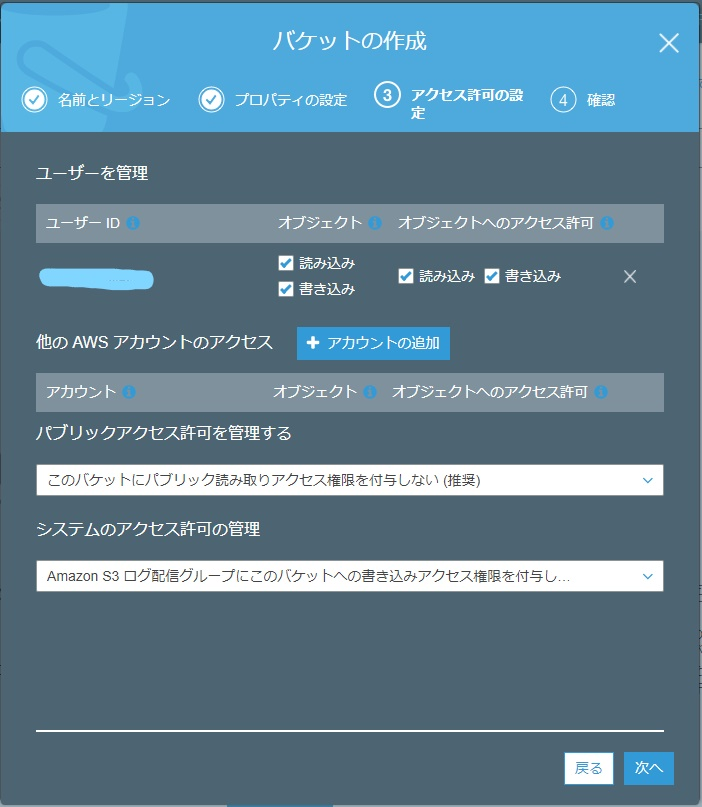
Leave this section as is.
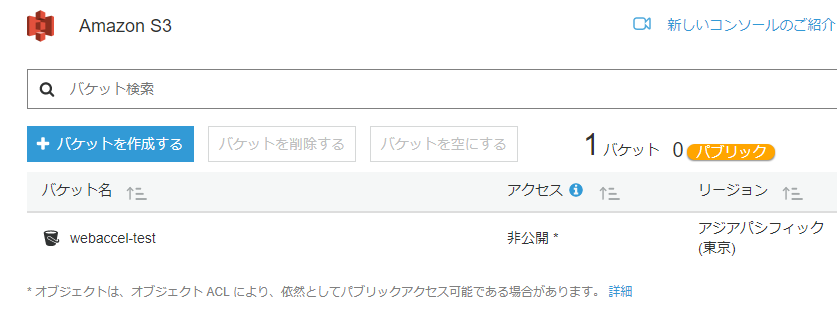
Confirm and create the bucket.
Configuring Static Site Hosting on S3
Select the bucket name you just set and move to its settings.
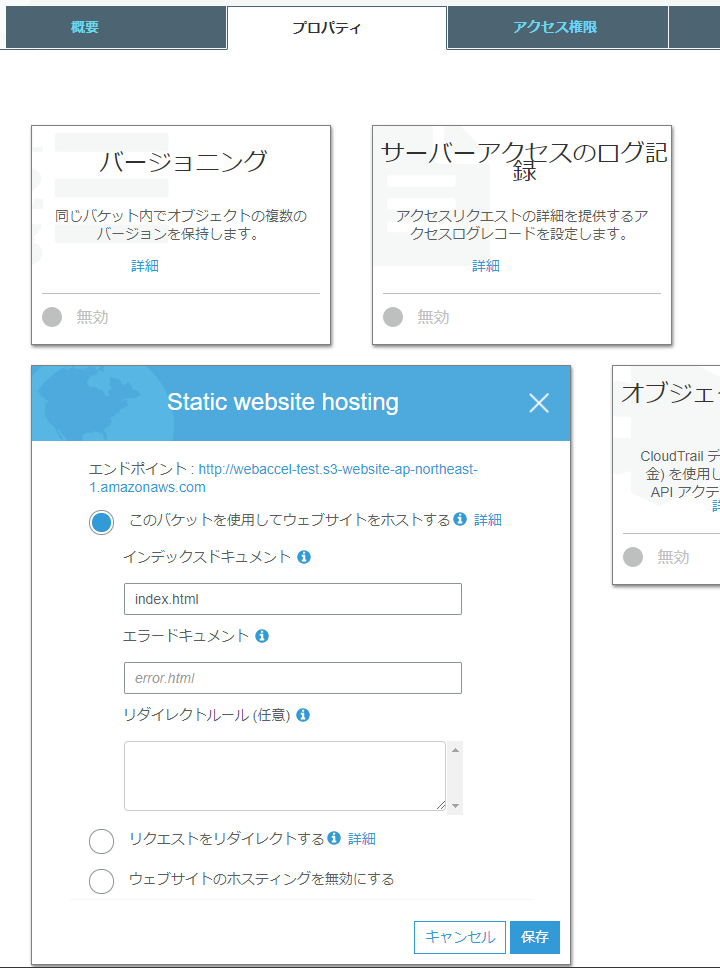
Enable “Static website hosting” from the properties tab.
Make a note of the endpoint displayed here, as it will be used later in the Web Accelerator settings.
Uploading Files
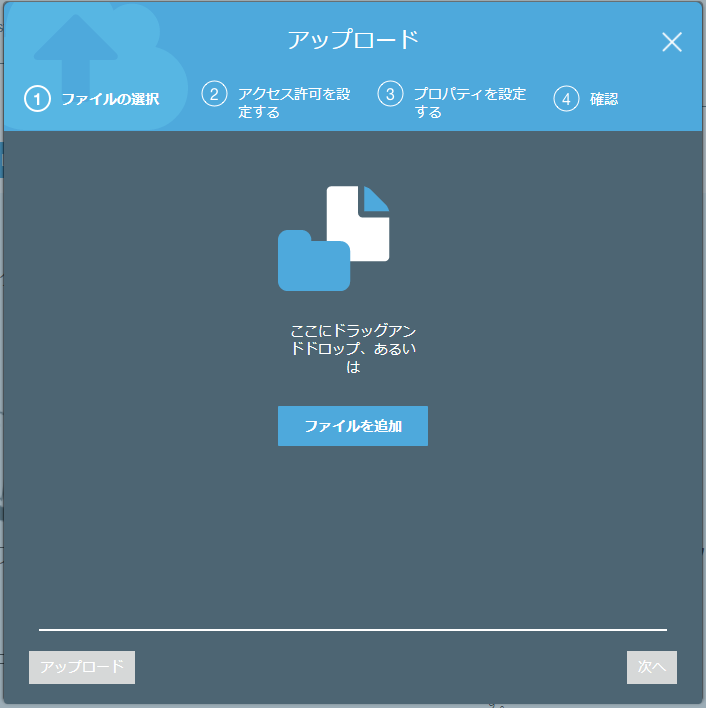
For this test, we’ll upload files through the web interface instead of using tools like s3cmd.
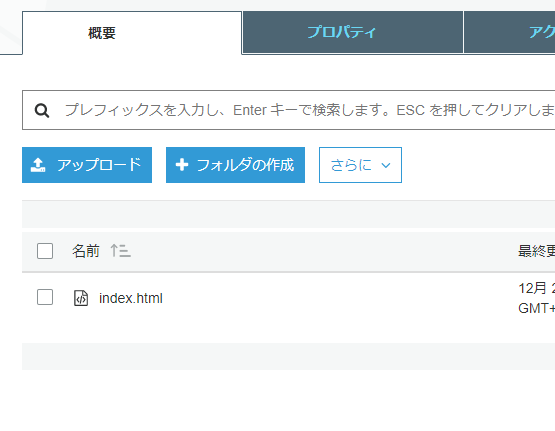
Upload files from the “Upload” button in the overview tab.
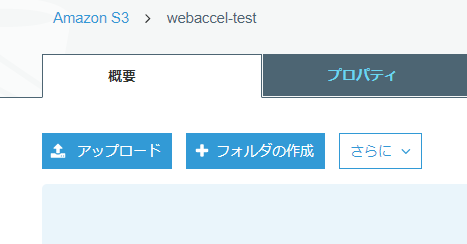
Create an appropriate index.html file and upload it.
Review and proceed to the next step.
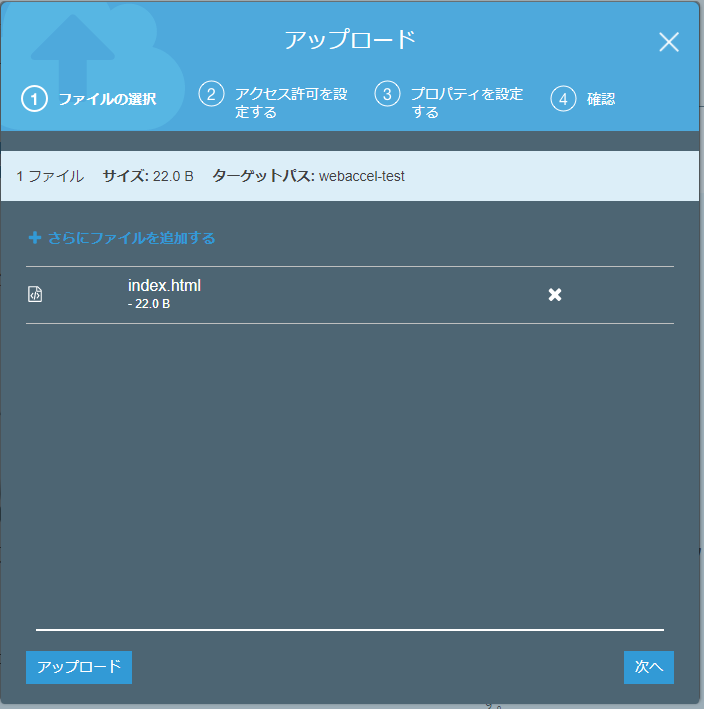
Proceed to the next step.

Set Cache-Control: s-maxage=3600 (1 hour) to allow caching by Web Accelerator.
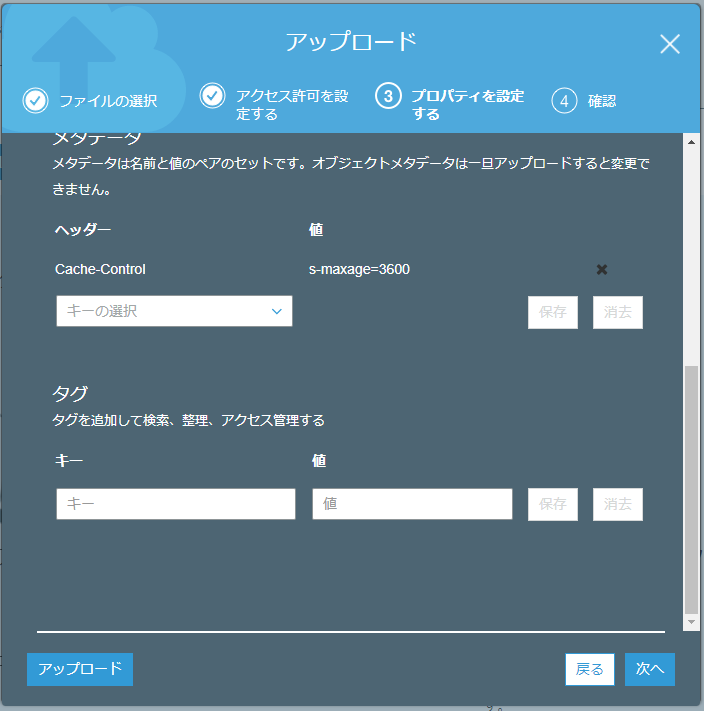
Review and upload.
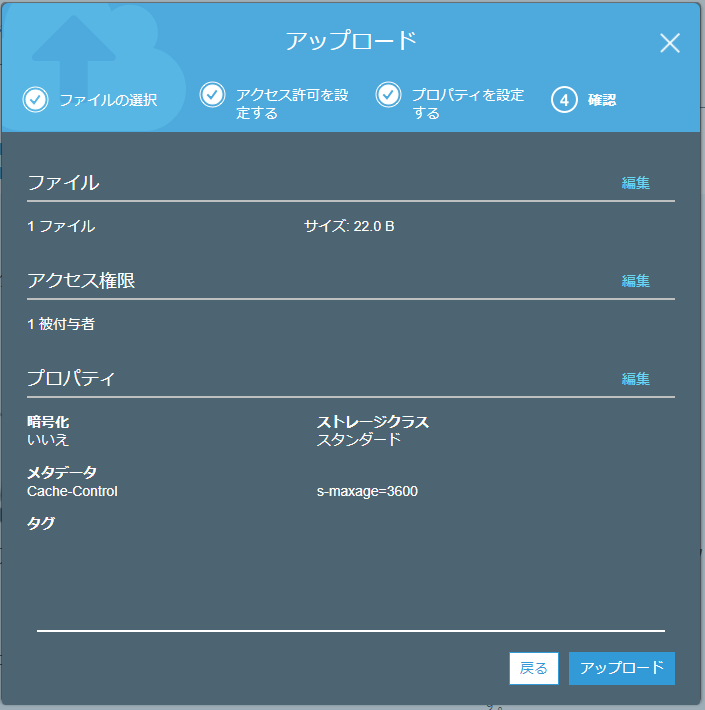
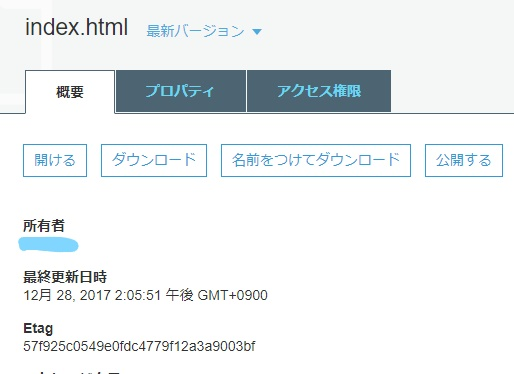
After the upload, publish the file.
Click “Make public” to publish the uploaded file.
Access the endpoint set in “Static website hosting” to ensure the uploaded file is displayed correctly.
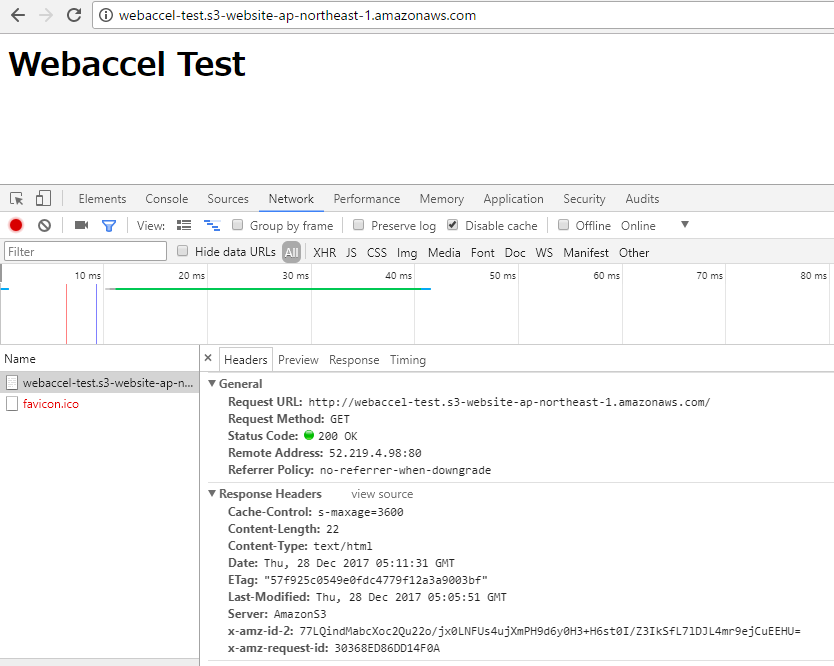
Confirm that the uploaded file is displayed correctly and that the Cache-Control: s-maxage header is set.
Web Accelerator Configuration
Creating a Site for Distribution
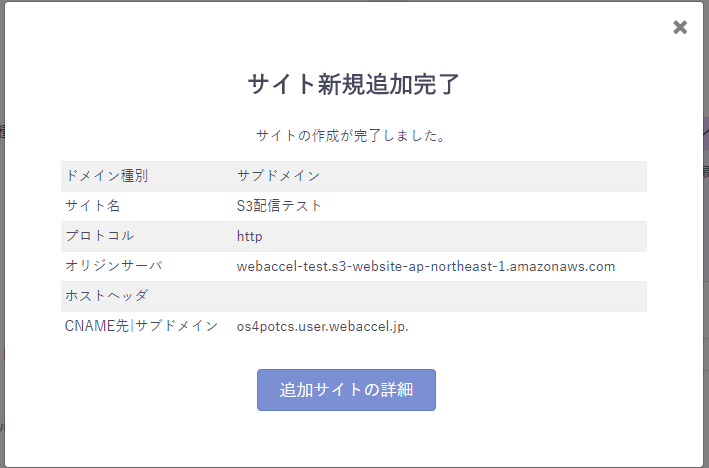
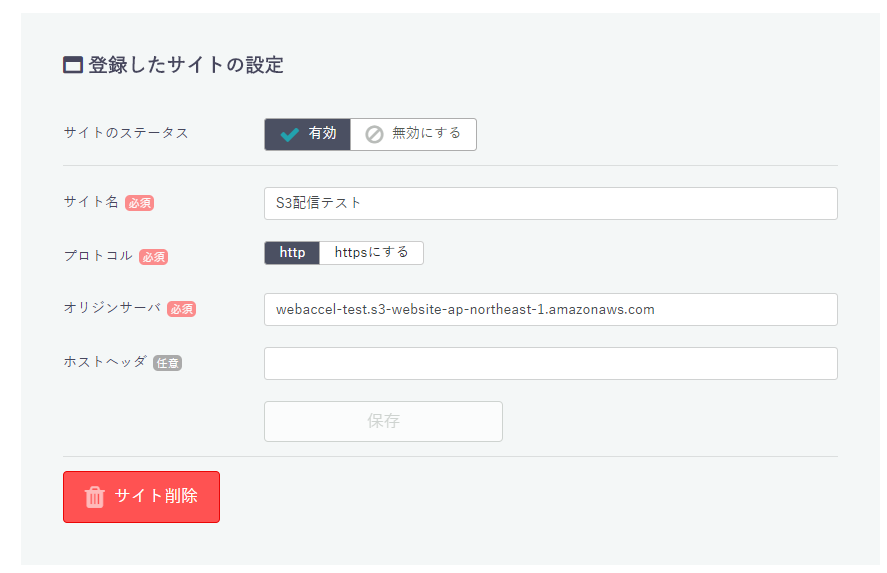
Create a site for S3 distribution from the new site creation screen in Web Accelerator.

This time, we’ll set it up with a subdomain.
Site name: Set an appropriate name
Origin server: Set the endpoint displayed in “Static website hosting” earlier.
Click save to save the site. A completion screen should appear.
Enable the site from the settings.
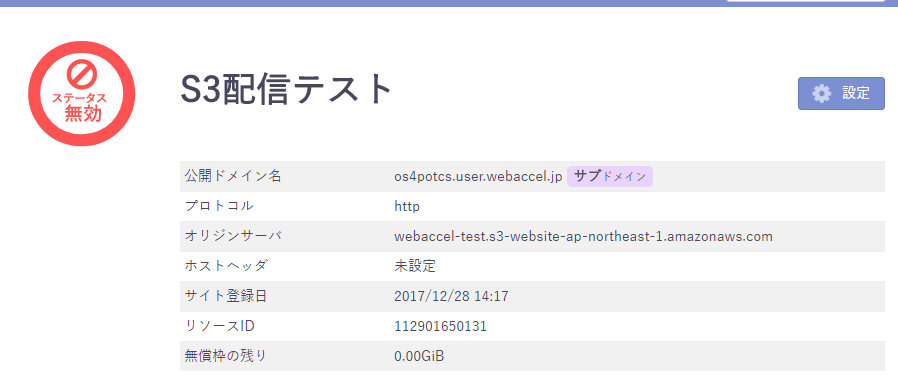
Once enabled, access it via the issued subdomain.
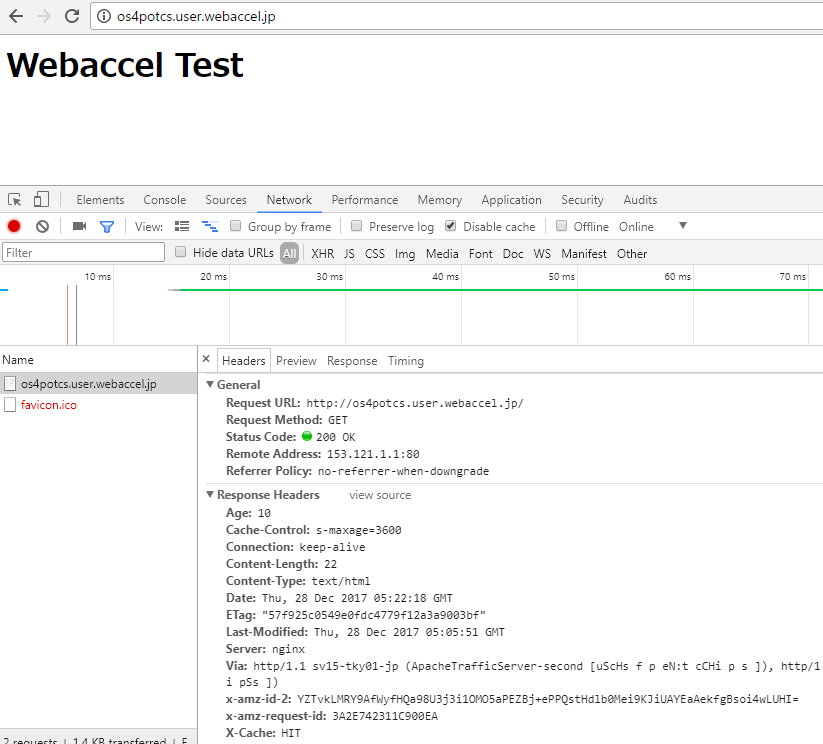
If everything is set up correctly, reloading the page a few times should show X-Cache: HIT, confirming that Web Accelerator is caching and distributing the content.
Finally
Uploading through the web interface is tough, so using an API key with s3cmd or similar tools should allow for easier uploads and distribution via Web Accelerator.
s3cmd put --add-header "Cache-Control: s-maxage=3600" --acl-public (omitted)
This should achieve the same result as uploading via the web interface.